Recent Posts
- Cysteamine vs. Thioglycolate: Which Lash Lift Formula is Right for Your Client?
- Looking for Free Lash Certification Online? Here are 10 Things You Should Know
- Why The Korean Lash Lifts Are Taking Over. HOW TO MASTER IT!
- The Ultimate Guide to How to Tint Lashes: Why Lash Conditioner for Lash Lift is Your Secret to Happy Clients
- 7 Mistakes You’re Making with Lash Lifts (and How Lash Lift Balm Saves the Day)
Brow Tinting Struggles: Pro Tips to Solve Your Most Common Challenges
Posted by Gina on Feb 12, 2026

Brow Tinting Struggles: Pro Tips to Solve Your Most Common Challenges
Brow tinting looks simple on paper. Mix the tint, apply it to the brows, wait a few minutes, and wipe it off.
But we all know the reality is not that easy.
You've probably dealt with uneven color that makes one brow look darker than the other. Or that dreaded moment when you accidentally stain the skin around the brows. And let's not even start on clients with sensitive skin who break out in a rash.
These challenges are frustrating. They waste your time, stress out your clients, and can even hurt your reputation if they happen too often.
The good news? Most brow tinting problems have straightforward solutions. You just need to know what causes them and how to prevent them.
Challenge #1: Uneven Color That Makes Brows Look Mismatched
Uneven tinting happens when you rush through prep work or apply product inconsistently.
One brow ends up noticeably darker than the other. Your client notices. You notice. Everyone notices.
The fix starts with proper prep. Clean the brows thoroughly before you start. Use a brow cleanser and spoolie to remove makeup, oil, dead skin cells, and any product buildup. These create barriers that prevent the tint from adhering evenly.
When you apply the tint, work methodically. Start with the same brow every time so you develop a consistent pattern. Apply the same amount of product to both brows. Use the same pressure and technique on each side.
Take your time. Rushing leads to uneven application where some areas get more product than others.

Challenge #2: The Dreaded Skin Stain
Skin staining is the worst. You've got beautiful, perfectly tinted brows, but the skin around them is dark and blotchy.
Your client looks like they drew their brows on with a permanent marker.
Prevention is everything with skin staining. Before you apply any tint, create a protective barrier around the brows. Use petroleum jelly, barrier cream, or any thick occlusive product.
Apply it generously around the entire brow area. This creates a shield that repels the tint if it accidentally touches the skin.
If tint does get on the skin, act fast. Grab a damp cotton swab immediately and wipe it off. Don't wait. The longer the tint sits on skin, the harder it is to remove.
For stains that already happened, you have options:
- Exfoliate gently with a mild scrub or soft toothbrush to remove the top layer of skin cells.
- Use a specialized eyebrow tint remover designed specifically for this problem.
The best time to fix staining issues is within the first 24 hours. After that, you're mostly waiting for the skin to naturally exfoliate.
Challenge #3: Client Sensitivities and Allergic Reactions
This is the scariest challenge because it affects your client's health.
Some clients react badly to traditional tints. They develop redness, itching, swelling, or even blistering around the brows.
The culprit is usually PPD (paraphenylenediamine) or resorcinol. These ingredients create strong, long-lasting color, but they're also common allergens.
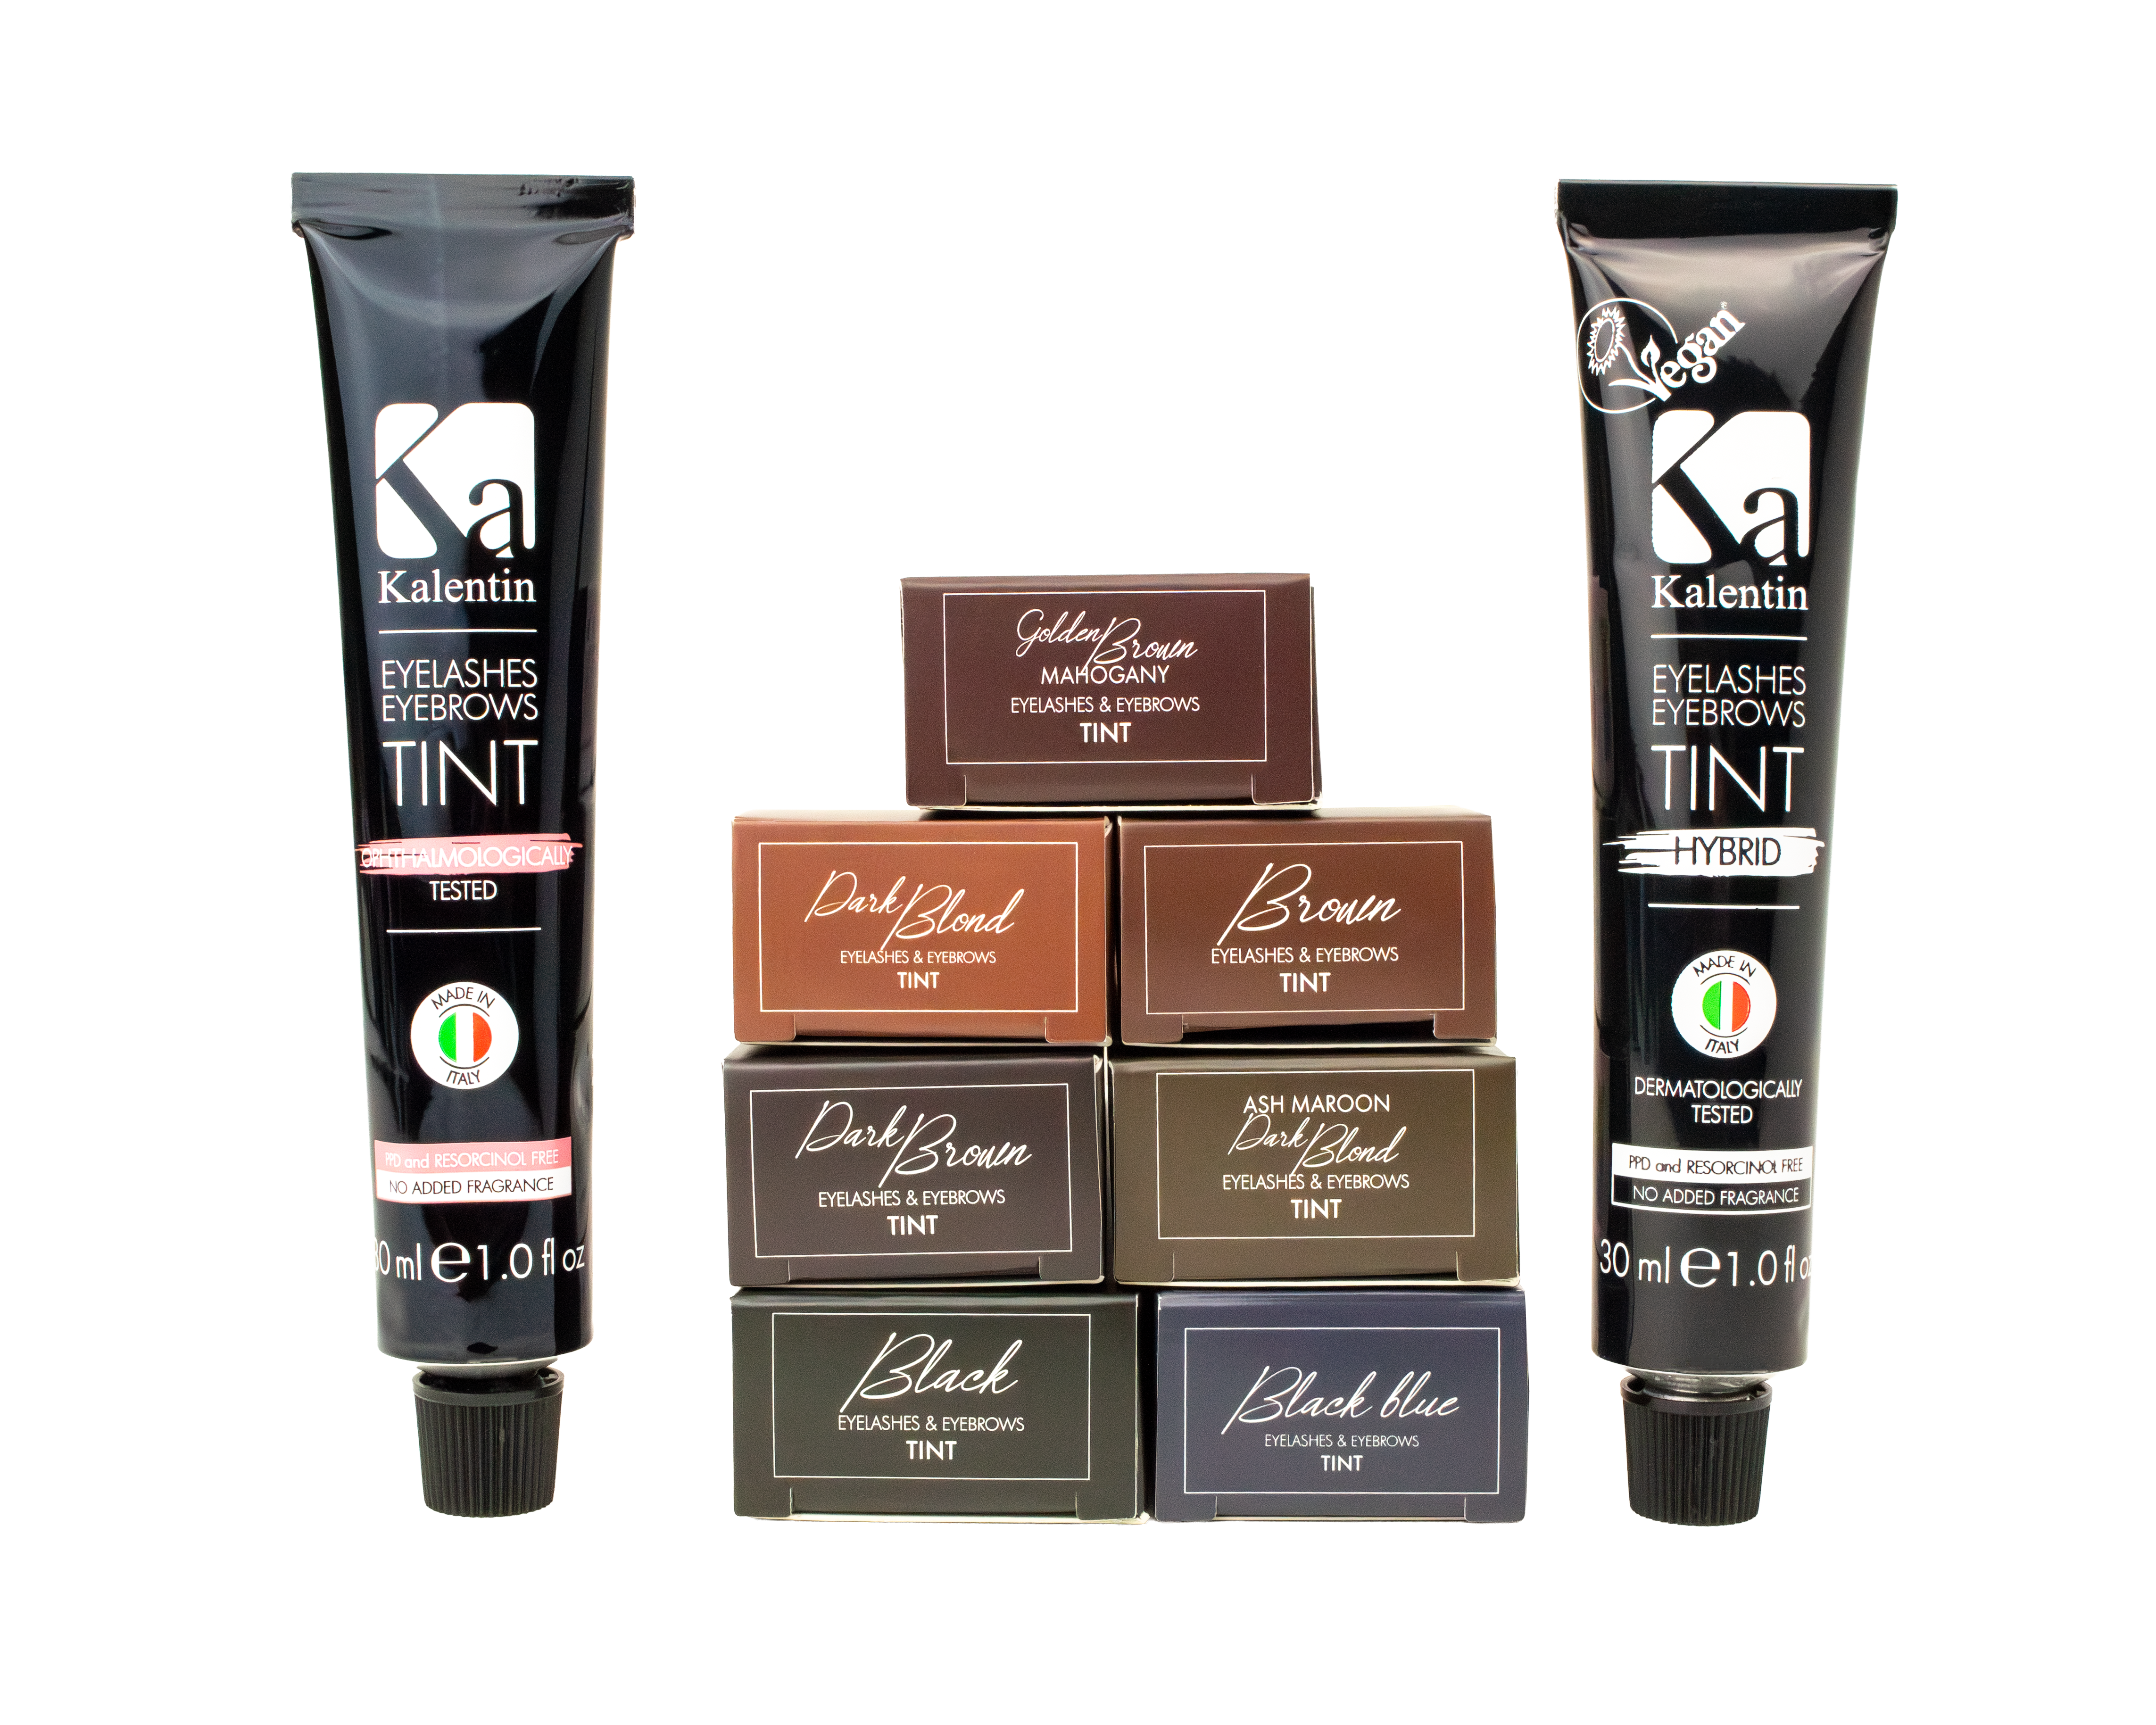
A professional eyebrow tint without these harsh ingredients changes everything. The Kalentin Eyebrow and Eyelash Tint is formulated without PPD and resorcinol, making it perfect for clients with sensitive skin or known allergies.
You still get rich, beautiful color that lasts. But you eliminate the risk of those scary allergic reactions.
Always do a patch test 24-48 hours before tinting a new client. Apply a small amount of tint behind their ear or on their inner elbow. Check for any reaction before you proceed with the full service.