Recent Posts
- Are You Actually Making Money? Here's How to Calculate Your Cost Per Lash Service
- You're Not Just a Lash Artist—You're a Business Owner
- Do You Really Need a Lash Conditioner for Lash Lift? Here's the Truth
- 7 Steps to Build a Thriving Lash Clientele
- Lash Lifts & Hybrid Brows: The 2026 Trend Taking Over the Treatment Room
How to Use Glueless Lash Lift Rods
Posted by Gina on May 21, 2026

Glueless lash lift rods have become increasingly popular in the lash industry because they simplify the lash lift process and can save artists a significant amount of time. Unlike traditional rods that usually require adhesive to secure the shield to the eyelid, glueless rods are designed to naturally grip the skin on their own. This creates a cleaner and often more comfortable experience for both the artist and the client.
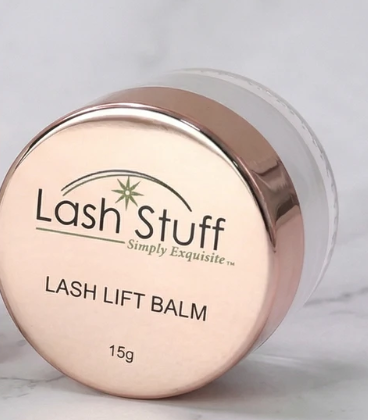
One of the biggest misconceptions about glueless rods is that no adhesive or balm is needed at all during the service. While you typically do not need glue to attach the rod itself to the skin, you still need a product to wrap and secure the lashes onto the rod properly. Most artists use a lash lift balm, wrapping balm, or a traditional adhesive to hold the lashes in place during the service. The “glueless” aspect refers to the rod placement, not the lash wrapping process.
Step 1:
Before starting the service, it is important to thoroughly cleanse the lashes and surrounding eye area. Oils, makeup residue, and skincare products can interfere with how well the lashes adhere to the balm or adhesive. Starting with a clean surface helps create a smoother wrap and more consistent lift results.
Step 2:
Choosing the correct rod size is also extremely important. Smaller rods create a more dramatic curl, while larger rods create a softer, more lifted appearance. The ideal rod size depends on the client’s natural lash length, desired result, and overall lash health. Selecting the wrong size can lead to over-curled lashes or uneven lift patterns.
Step 3:
Once the lashes are prepped, the glueless rod can typically be placed directly onto the eyelid without any adhesive underneath it. The silicone material is designed to grip the skin naturally. In some cases, such as clients with oily skin or difficult eye shapes, a small amount of adhesive may still help keep the rod secure, but many artists find it unnecessary with quality glueless shields.
Step 4:
After the rod is positioned, balm or adhesive is applied to begin wrapping the lashes upward onto the rod. This step is one of the most important parts of the lash lift process because the final lash placement directly affects the finished result. Each lash should be separated carefully and wrapped smoothly without twisting or crossing over neighboring lashes. Proper alignment helps create a clean, even lift and prevents frizzy or inconsistent processing.
Using too much balm or adhesive is a common mistake, especially for artists transitioning to glueless systems. Excess product can cause the lashes to slide around during processing and may create uneven saturation of the lifting solutions. In most cases, less product creates better control and cleaner results.
Working in small sections can make the wrapping process easier and more precise. Many artists use a Y-comb, isolator tool, or precision brush to separate and align the lashes as they work. Paying close attention to the inner and outer corners is especially important because these areas are more prone to twisting or shifting during the service.
One of the reasons many lash artists love glueless rods is because they create a faster and cleaner workflow. There is often less adhesive buildup on the skin, less mess during cleanup, and a more comfortable experience overall. For artists performing multiple lash lifts a day, glueless systems can help streamline appointments while still delivering beautiful results.
At the end of the day, glueless lash lift rods are simply another tool to help improve efficiency and comfort during lash lift services. Even though glue is typically not needed to attach the rod to the skin, securing the lashes onto the rod with balm or adhesive is still an essential part of achieving a clean, lifted, and professional result.