Recent Posts
- Should I Cleanse the Lashes Before a Lash Lift?
- How to Choose the Correct Silicone Rod or Shield Size for Each Client’s Lashes
- How a Professional Lash Lift Kit Can Boost Your Salon Revenue by $1,000/Month
- Can I Reuse Silicone Rods and Other Lash Lift Tools? A Guide for Beauty Professionals
- How to Start a Pro Lash Lift Business
Basic Steps On How To Apply Eyelash Extensions
Posted by Sara on Jan 27, 2021
EYELASH EXTENSION APPLICATION STEP-BY-STEP
1.Be sure you have the necessary supplies ready before the client arrives.
2.Make sure all your supplies are cleansed, disinfected, and sanitized with either
a.Barbicide
b.Cavicide
3.Wash your hands.
4.Once your client is in place, cleanse the entire eye area.
5.Brush the eyelashes with a mascara wand.
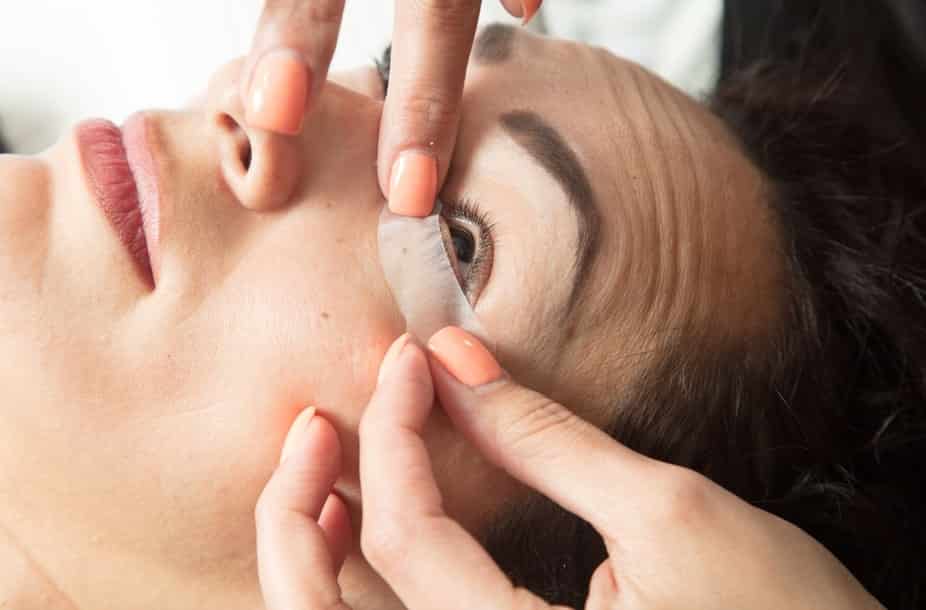
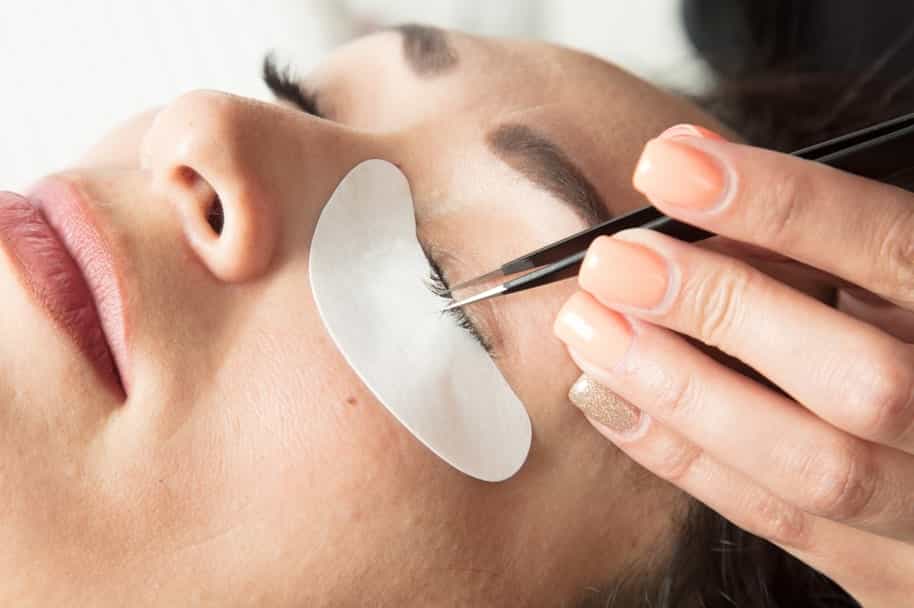
6.Secure the bottom lashes with eye pads or tape. This will keep the lower lashes out of the way during the service.
a.You will find that there are some clients on whom tape will work best and other clients on whom eye pads will work best. This usually depends on the client’s eye shape.
b.Be sure the placement is not too close to the client’s eye waterline. This will most likely cause irritation to the client’s eyes during the service if not placed properly. Placement should be at least 1 mm from the lower lid membrane/waterline.
c.When securing the lower eyelashes, make sure that it is comfortable for the client.
d.The process of applying eyelash extensions should never hurt the client
e.Keep clients’ eyes closed throughout entire procedure, plus an additional 10 minutes after procedure.
f.Make sure that the eyes can fully close.
i.This prevents fumes from getting into the client’s eyes.
ii.After the client has closed his or her eyes, use a mascara wand to inspect the placement of the pads/tape.
iii.If it appears that it may be too high or close to the waterline, simply lift the outer edge of the pad/tape (with the client’s eyes still closed) and pull it down slightly and replace.
7.Clean the natural eyelashes before every application. This is crucial.
8.Apply pre-treatment using a micro swab or flocked applicator. This step will make sure that the natural lashes are clean and free of any makeup or invisible residue left behind from makeup removers. If your clients insist that their lashes are clean, just tell them that you are making their lashes squeaky clean!
9.With a micro swab, apply liquid protein remover. Make sure that there is no residue left on the lashes. Leaving residue behind will shorten the life of the eyelash extensions.
10.Take a before picture.
a.Start a look-book so that you can show potential clients your work.
i.Print and display photos of your work.
b.This is also a great way to see your technique improve over time.
11.Map out the eyes. Be sure that you are placing the correct size of lashes in the proper place. Ask yourself:
a.What size and curl type of extensions will be best for this client?
b.What look are you going for?
i.Each client’s lash line and eye shape is unique.
ii.Remember that you are the professional. Listen to the client’s request, but in the end, you need to be the judge of what type of lashes would be best for this client.
iii.Clients may come to you with unrealistic expectations (i.e., pictures of a friend or from online). Be sure to discuss what you can do for this client and make sure he or she knows what to expect with this service before you start.
c.What size of lashes will not harm the health of this client’s natural lashes?
i.Applying eyelash extensions that are too thick or too long for a client’s natural eyelashes may damage the natural eyelashes.
ii.Be sure you inspect the natural lashes for health and strength
12.Make both eyes uniform. You will find that some clients have more natural lashes on one eye versus the other. Be sure you are working both eyes equally so that they will look even when the client opens his or her eyes.
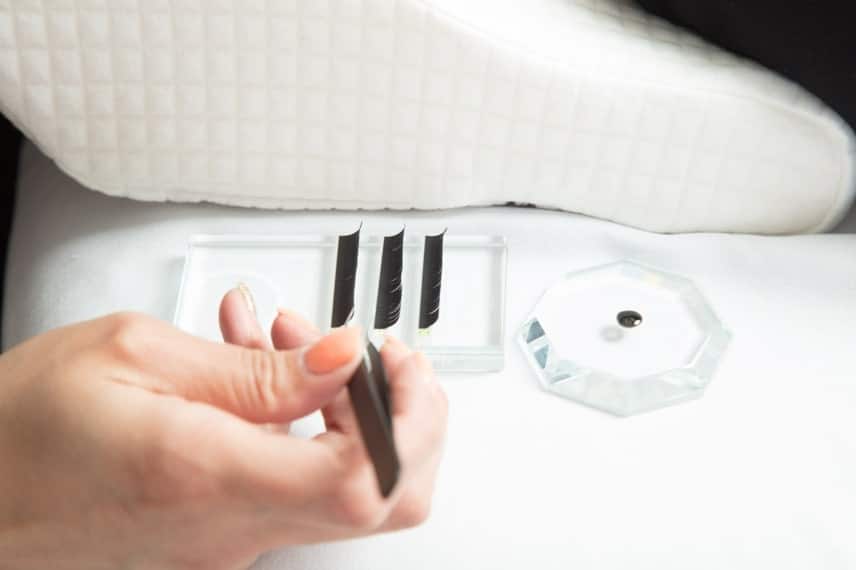
13.Once you have chosen the lashes, take out the strips that you will need and place them onto your lash tile
a.Tip: use a razor blade to cut a piece of the strip so that you can reduce the amount of lashes that you take from the tray.
b.You can also place the lashes on the back of your hand or on a pallet ring.
14.Dispense your drop of adhesive onto your stone, crystal tile, or ring. Be sure to shake the bottle well before dispensing the adhesive. To keep adhesive fresh, try dispensing only one drop of it every 30 to 60 mins.
15.Place your eyelash extensions and adhesive on your side table or on the bed to the side of your client’s head.
a.If you are right-handed, place your tools on the right and vice versa if you are left-handed.
b.Be sure it is far enough away from your client so that you don’t get eyelash adhesive on your client’s hair, clothes, or skin.
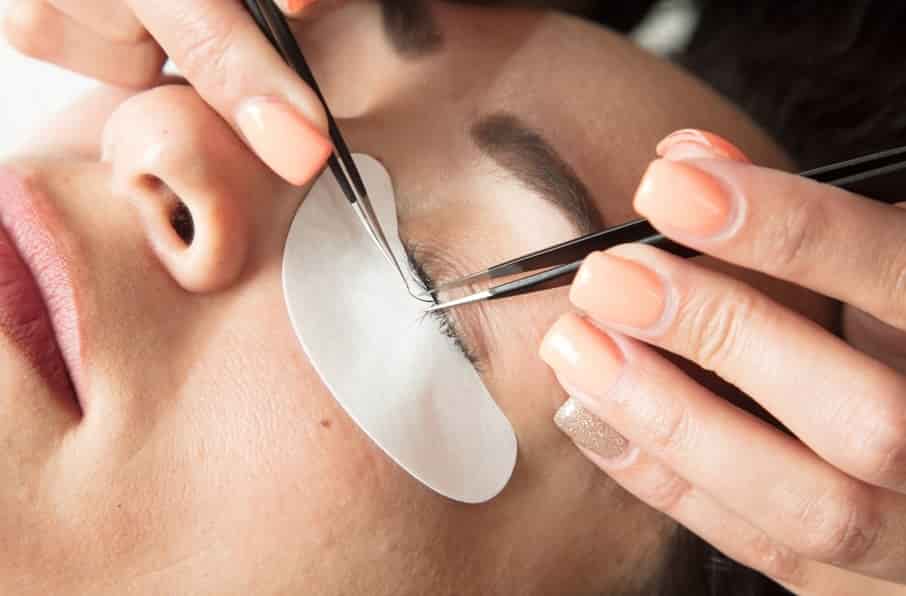
16.Place tweezers in your hand and hold them like a pencil. This is where comfort and preference will come in. There are a couple options for holding tweezers:
a.Two straight tweezers
1.One for isolating
2.One for placing the eyelash extension
b.One curved tweezer and one straight tweezer
1.Curved for isolation, straight for placing the extension
2.Straight for isolation, curved for placing the extension
17.Proper placement of the eyelash extensions is key to success
a.Remember that these are individual, one-by-one eyelashes. This means that one extension should be attached to one natural eyelash.
b.Isolating is your number one priority when placing eyelash extensions. This is going to help you stand out in a world full of lash artists.
c.Dip your eyelash extension into the adhesive only at its base. Less is more when it comes to eyelash extensions: Too much adhesive will cause the extensions to clump together and will be visible when the extensions start to grow out.
d.You do not want to see the adhesive on the eyelash extension. Simply dip it and place it.
e.Place the base of the extension at the base of the natural lash, 1 mm away from the skin.
f.The adhesive and the eyelash extension should never touch the skin.
g.After placing the extension on the natural lash, you may need to hold it in place for 2-5 seconds to be sure the extension stays straight. This time will speed up with experience. If you find that the dry time is longer than what it should be, try applying less adhesive. Often, the culprit of long dry times is applying too much adhesive.
18.Continue this process until you have placed an extension on all available healthy natural eyelashes.
a.Be sure you are also paying attention to making the eyes look uniform so that one eye does not look fuller than the other.
b.Comb through the eyelashes a few times while you are working with a mascara wand. This helps the natural eyelashes show up when you are searching for a new one to place an extension on.
19.After the eyelash extensions are placed to throughout both eyes
a.Comb through the eyelashes to check that they are even on both sides;
b.Check for any lashes that may be stuck together and separate them; and
c.Use your mascara wand to lift the eyelashes and check to be sure none are stuck to the eye pad/tape.
20.At the end of the service it is best to cure the adhesive
a.This is an important step to eliminate irritation that come with eyelash extensions. Eyelash extension adhesive does not “dry”—it cures. The adhesive takes the moisture in the air and hardens. This process can take up to 48 hours if left to cure naturally. You can speed up the curing process by using a Nano Mister or applying a sealer. These two curing methods will allow the clients to get their eyelash extensions wet in as little as 4 hours.
b.Nano Mister
i.Using a mascara wand, brush through the lashes and mist each eye.
ii.Hold the mister 8-10 inches away from the client’s face and mist for 5 seconds; repeat this step up to 3 times.
iii.Mist 10-15 seconds max per eye.
iv.No moisture should be visible on the lashes; this process is only adding humidity to the eye area to cure or polymerize the adhesive quickly.
v.At the end of the service, if the client has a bit of redness in the eyes, it is OK to mist with the eyes open to refresh the area.
c.Clear Sealer
i.Place a drop of sealer on your stone—the same used for the adhesive.
ii.Using a micro swab, apply the clear sealer along the base of the lashes, coating the bond point between the natural lash and the extension.
iii.Use a small fan to dry the sealer and a mascara wand to keep the lashes from sticking together.
21.Comb through the eyelashes one last time to inspect your work. Be sure the lashes are dry. Use your fan a little more if needed.
22.Carefully remove the eye pads or tape.
23.Remember to educate your client on the do’s and don’ts of eyelash extensions. Give him or her an aftercare card or send an email with the information.


